

Getting started with a TerraMaster NAS
TerraMaster makes some killer NAS hardware — pre-congenital, fix-to-go storage units that are a cakewalk to install and set up. The initial set up process is a little different from other manufacturers, but still simply takes around five minutes. If you're new to TerraMaster and NAS in general, this guide will testify you how to go started. We'll be using the F4-220 (around $289), which sports an Intel CPU and 4 drive bays, merely the process should be similar regardless of your model.
Before you become to installing the TOS (TerraMaster Operating System) and making the virtually of your NAS, it's paramount y'all install a hard drive or two. This can exist achieved by pulling each hot-bandy bay out and using the necessary screws to attach each drive to the bay. Screws and holes are available for both 3.v-inch mechanical drives and 2.5-inch SSDs. The packaging includes manuals, besides as a screwdriver and all the cabling you crave.
Installing TOS

If yous already know the IP address assigned to the TerraMaster NAS, you can skip steps i-nine and simply open up your favorite browser and connect to the NAS. The TNAS software is only really needed to locate a NAS on the connected network and is tailored to beginners.
- Unpack the NAS, plug in the supplied Ethernet cable and power brick.
- Head to the TerraMaster download page.
- Select your NAS model.
- Download the TNAS PC app (available for Windows, Linux, and macOS). You could as well download the user guide to reference.
- Turn on the NAS.
- Run the downloaded TNAS app.
- Striking the search icon at the bottom to search for the NAS on the network. If y'all yet cannot come across it in the app, make sure all lights on the NAS are green.
- Hit "Login".
-
Your browser will at present open with the right IP accost loaded.
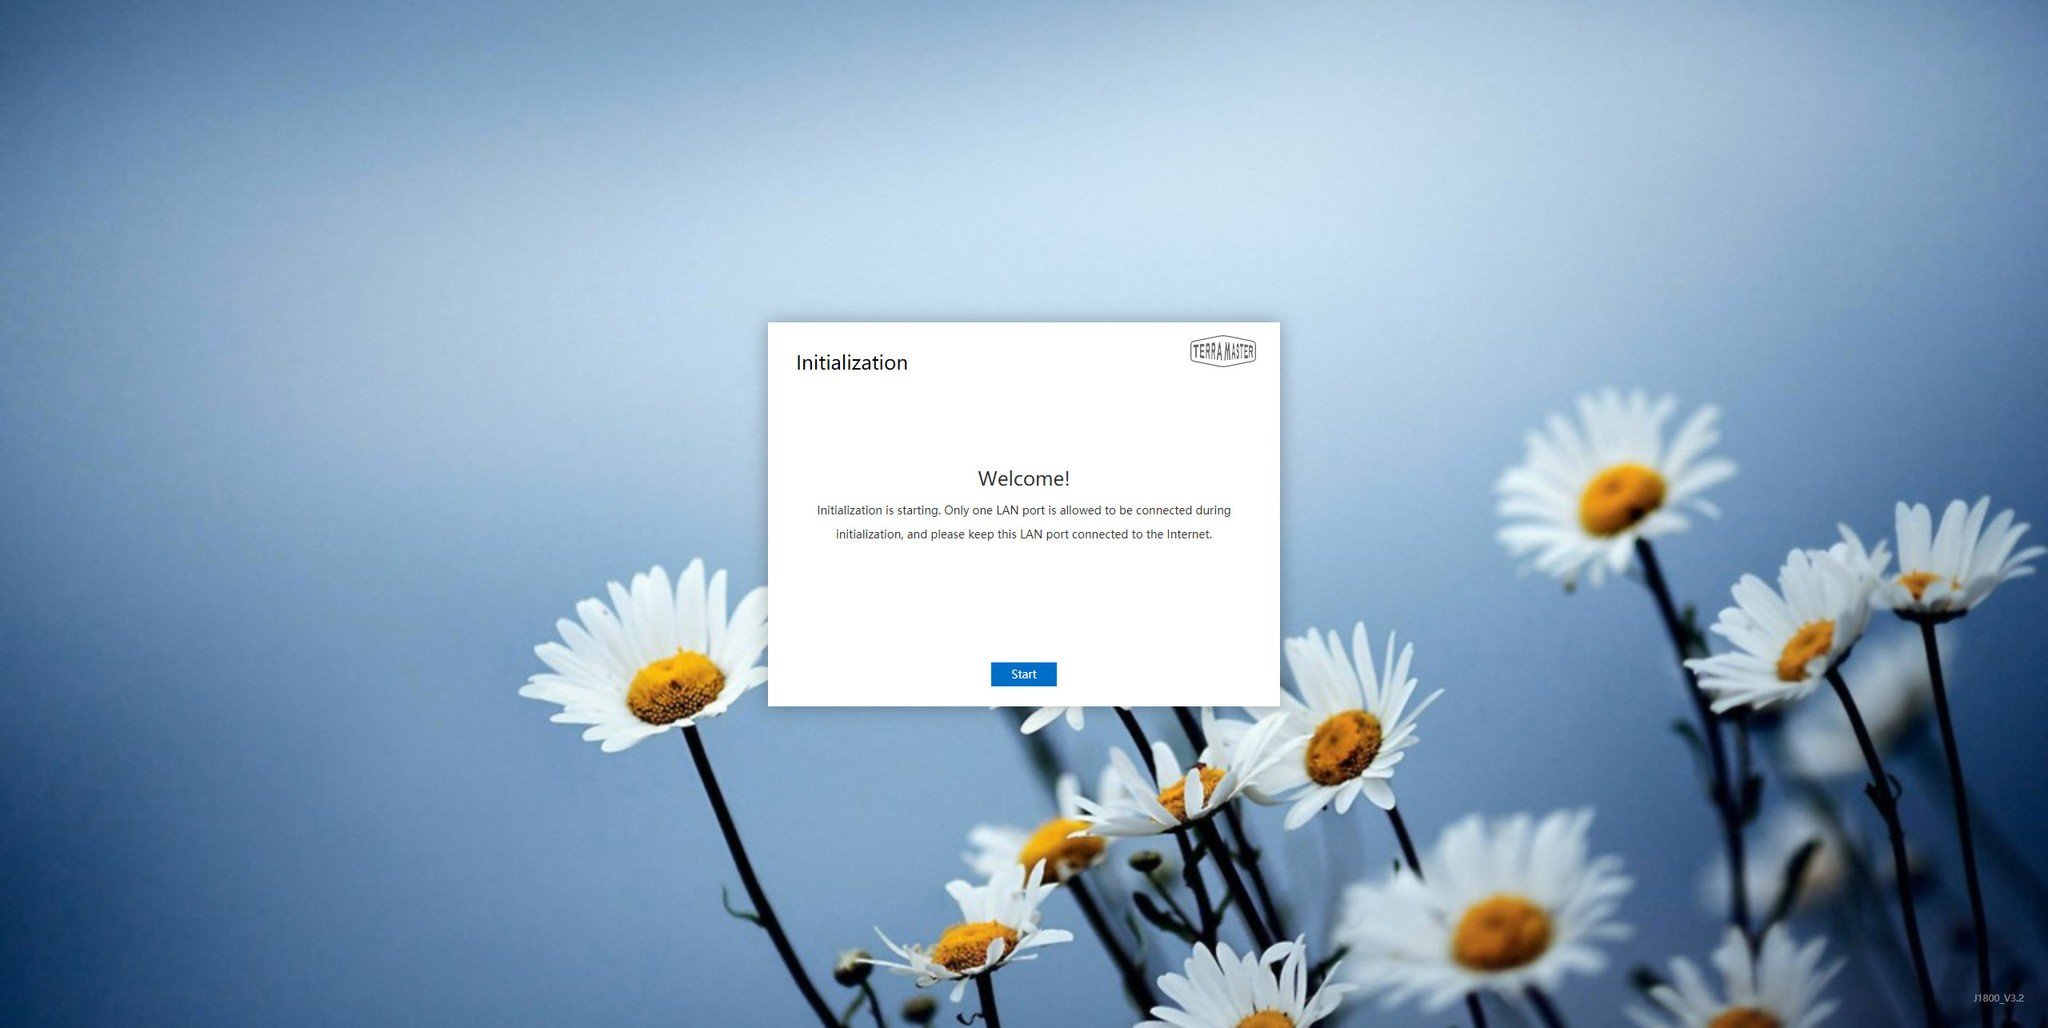
- Hit "Offset."
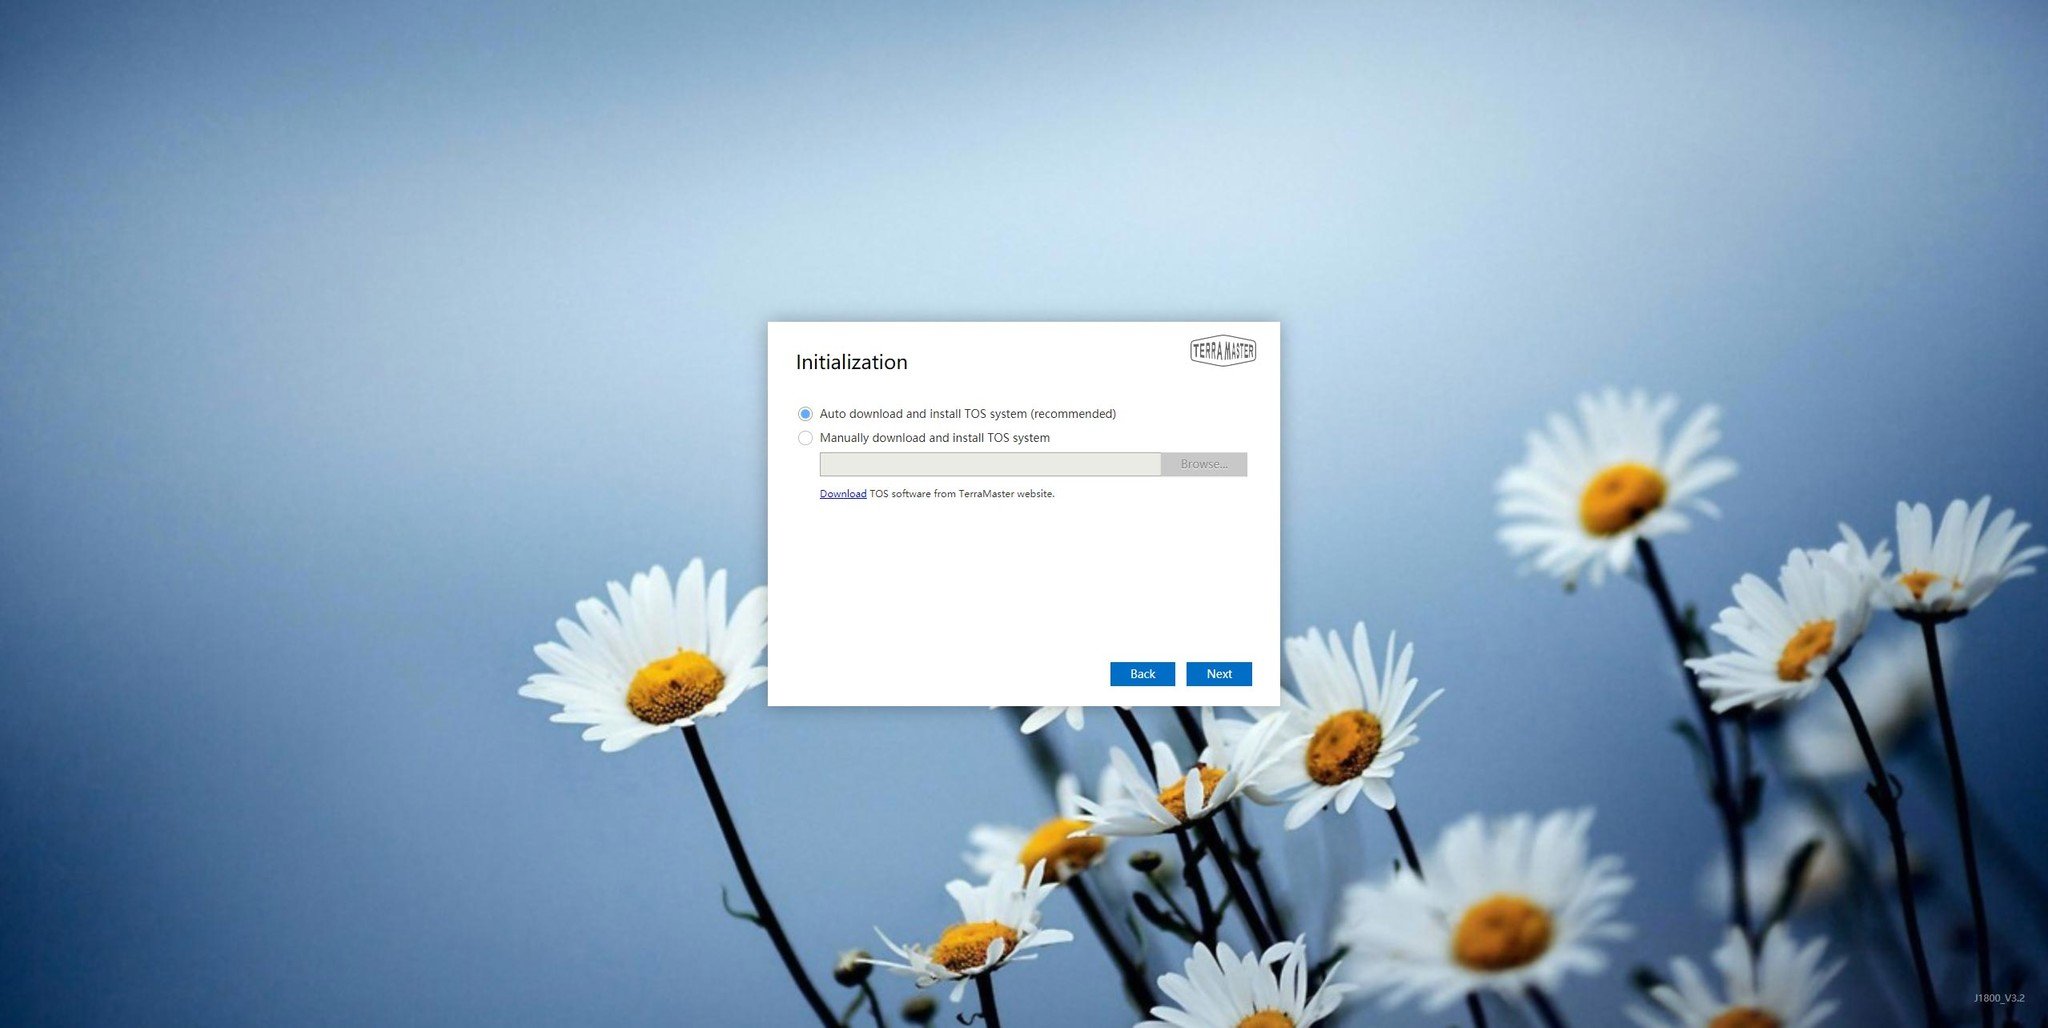
- Ostend all hard drives are detected. If so, hit "Next."
-
Choose "Automobile download and install TOS," or manually cull information technology if you have a local copy at hand.
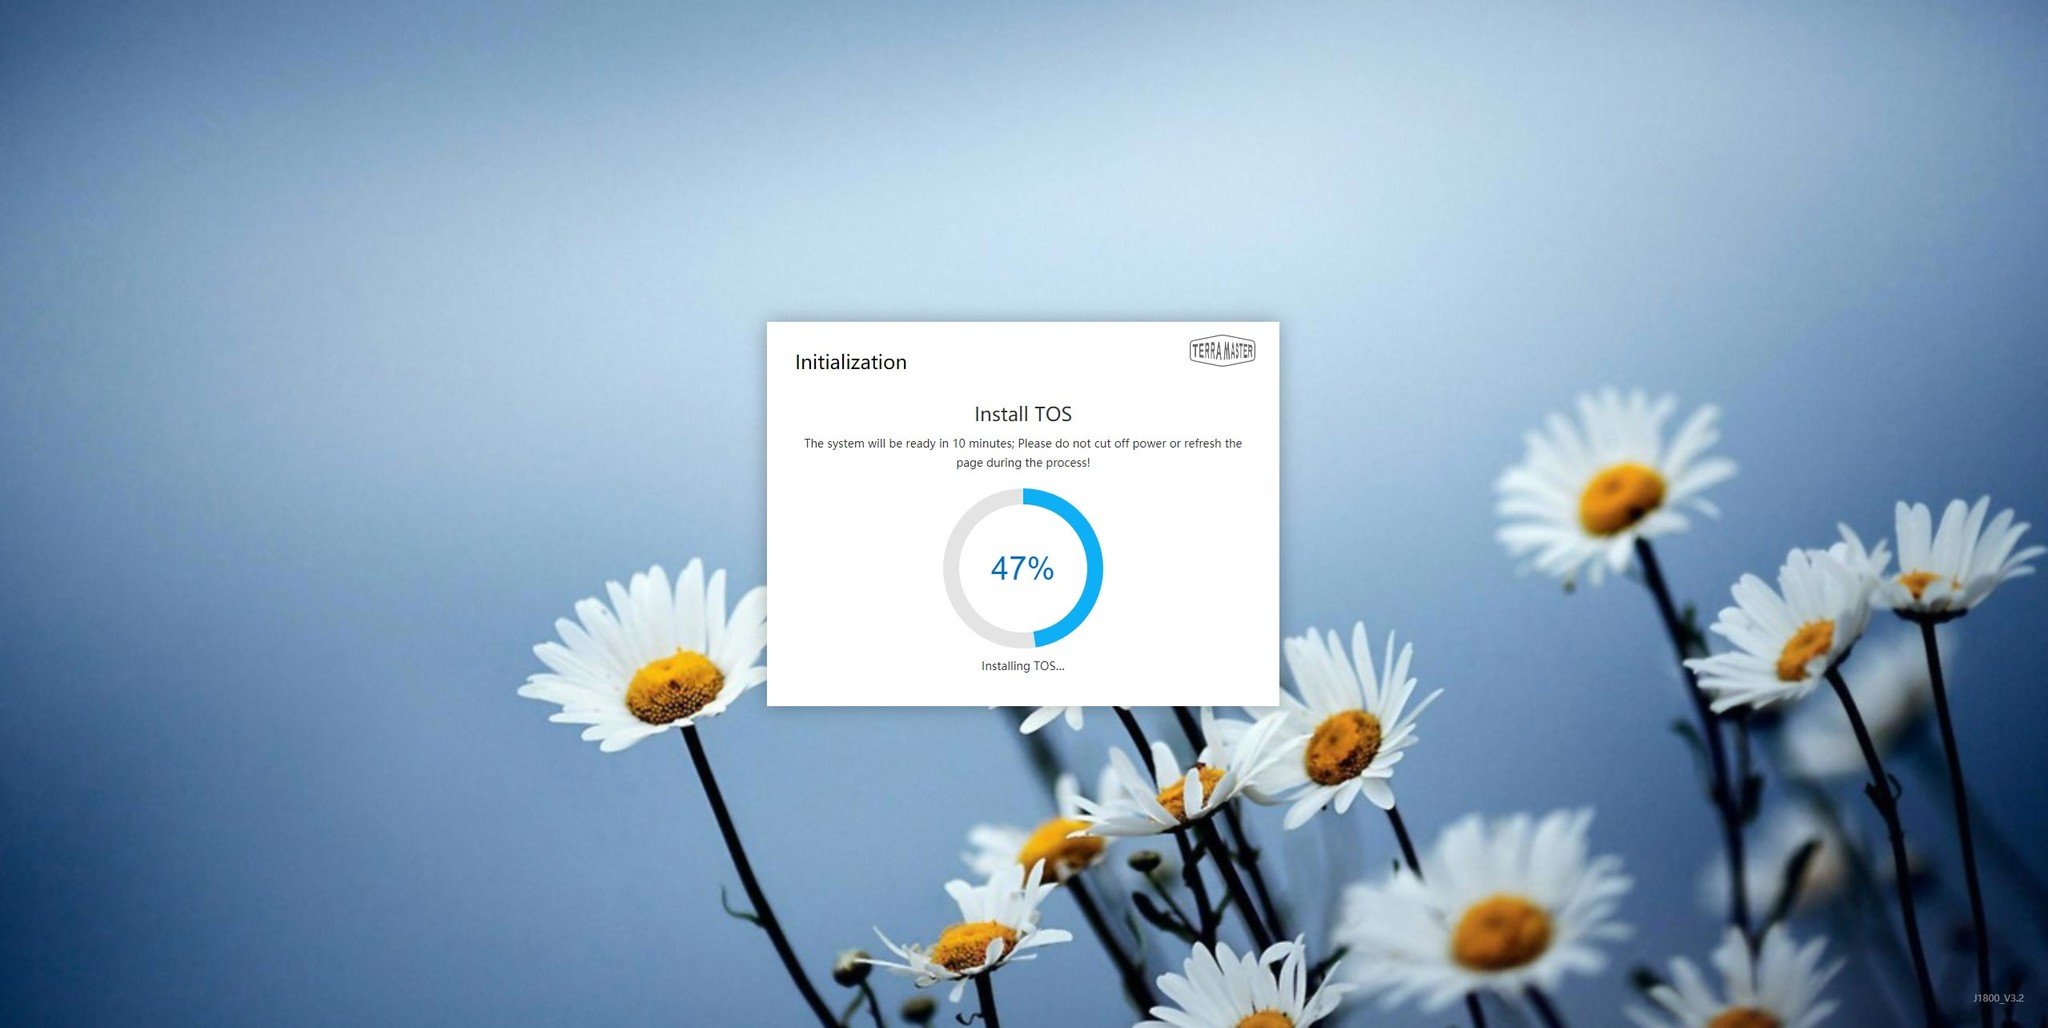
A confirmation box will pop up making sure you're aware that all information on the drives will be cleared.
-
Wait for the installation to complete. (Don't refresh the page or plough off the NAS.)


Setting up shop

Now it's fourth dimension to go the TOS configured with your login.
-
Enter a password, select time zone, and an email for security (optional).
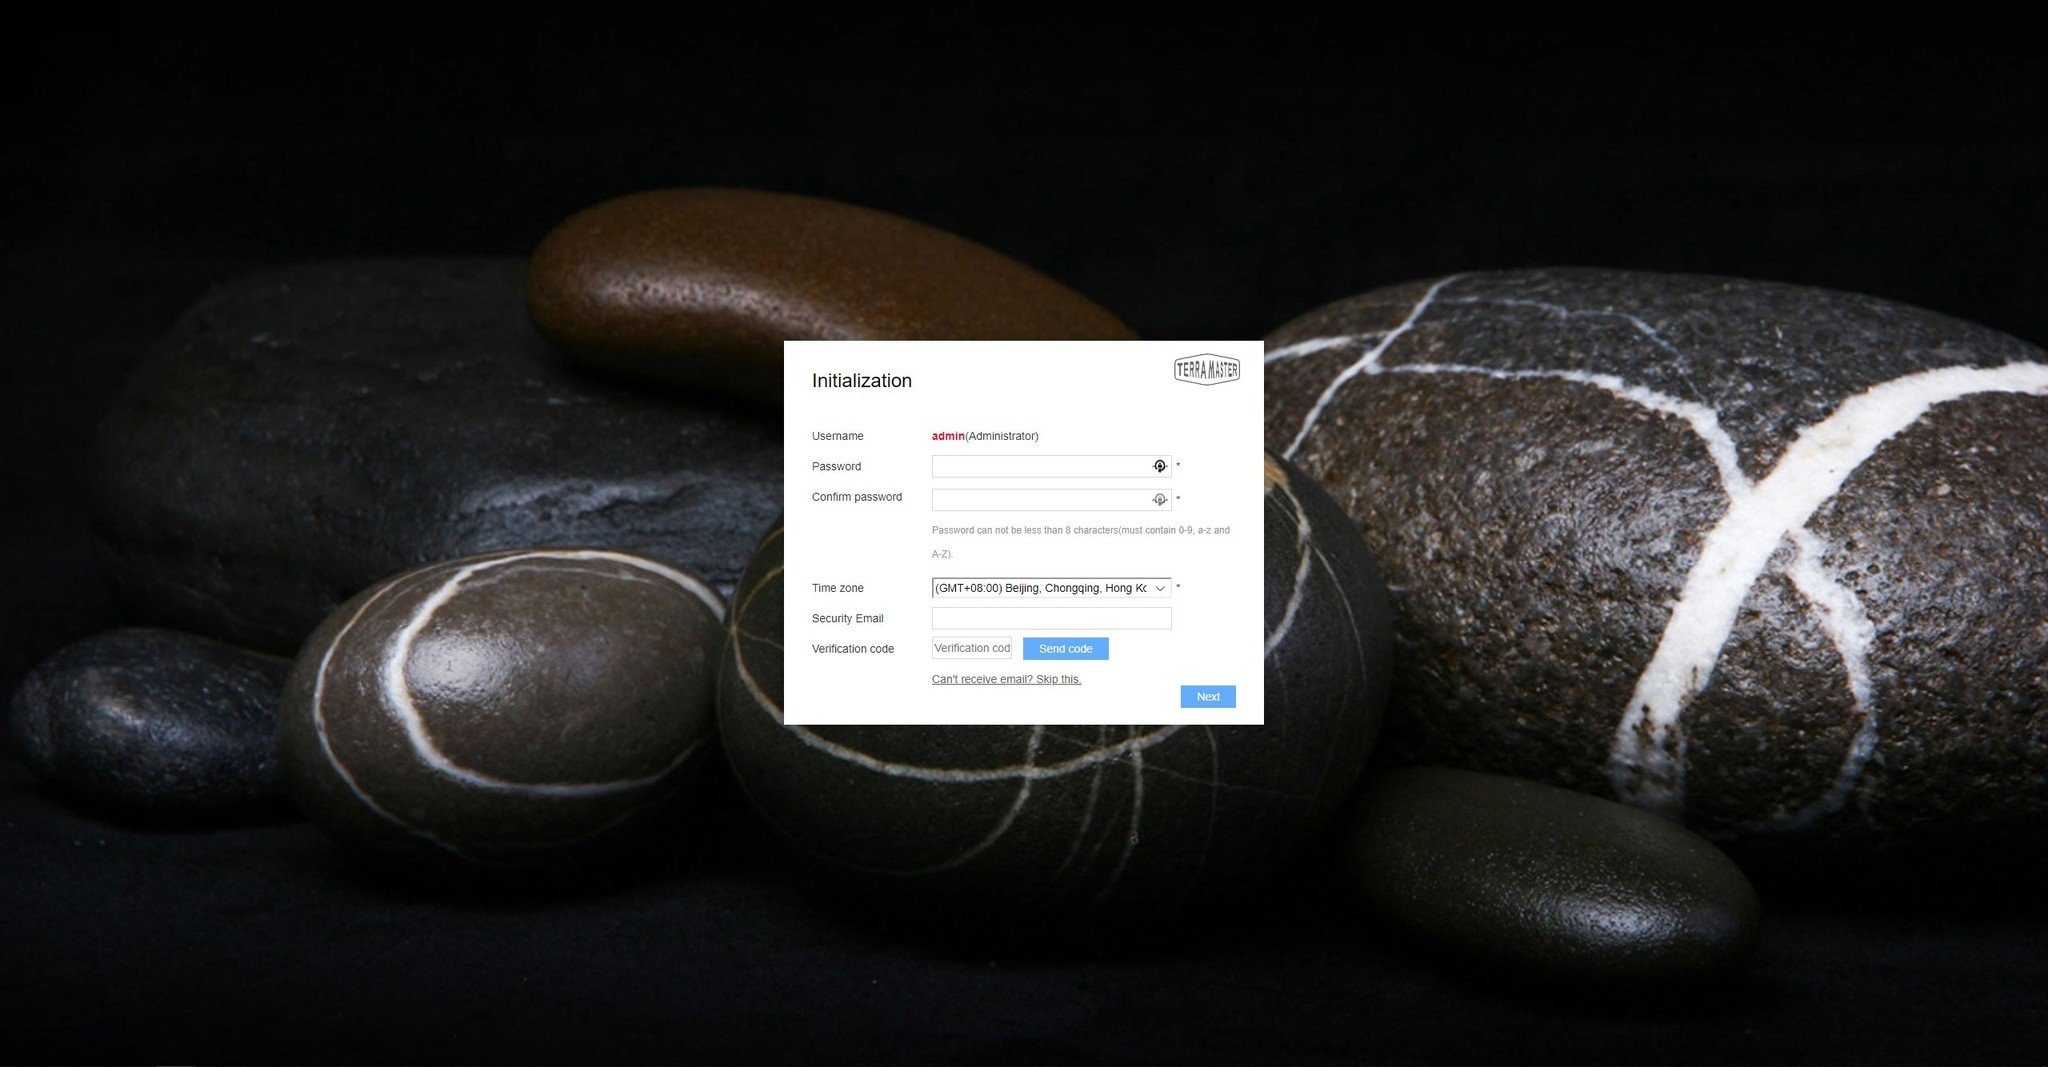
- Hit "Next."
- Choose your RAID setup.
- Hit "Adjacent."
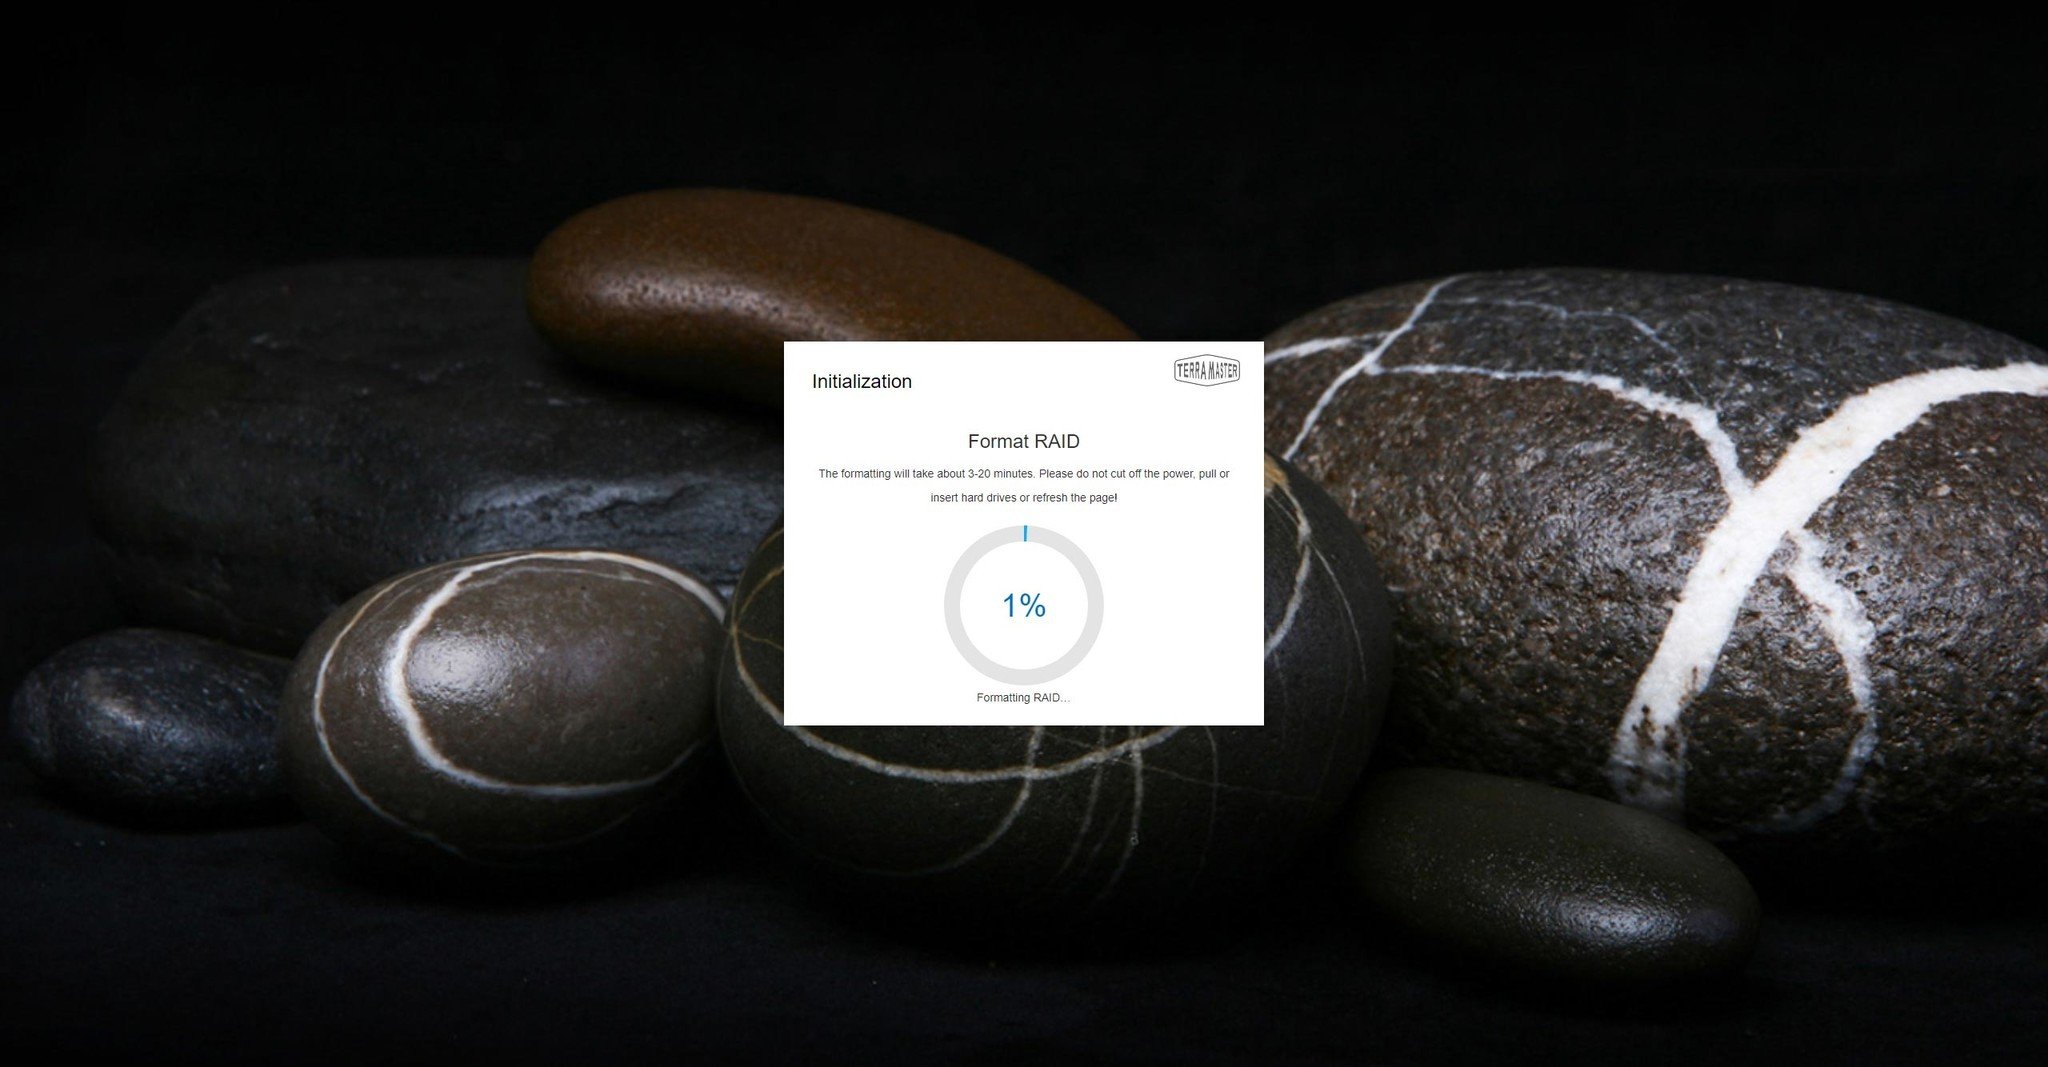
-
Wait for the formatting process to complete.
-
Log in with your username and password.


And yous're all set! All you need to practise at present is install your favorite apps, connect to the NAS within your Os and transfer files. Settings tin exist accessed within the TOS to adapt diverse functions of the Os and NAS unit. The Bone itself is adequately straightforward to utilize and if you lot're familiar with the Synology range of NAS models, it won't take you long to adjust.
We may earn a commission for purchases using our links. Learn more than.

One of the greats
Xbox legend Shannon Loftis retires from Microsoft after 29 years
Shannon Loftis announced her retirement from Microsoft today, later on 29 years with the visitor. Loftis has been with Xbox for decades, having congenital franchises like Fable, Banjo Kazooie, and many more than, and recently revived Age of Empires from its long slumber.

Yous don't take to survive the apocalypse lone
Dying Lite two co-op: How to play with online with friends
Dying Low-cal 2 is an excellent game, but it'south even more than fun when y'all play it in co-op with your friends. Here's a guide on how you and your friends can play together, equally well as what you need to know almost how online play functions.

New ways to examination
Minecraft Preview can now be tested past Xbox Insiders on console
On Monday, Mojang Studios announced Minecraft Preview, a new Minecraft game that volition let players test upcoming changes and updates before they release. Minecraft Preview will eventually supervene upon the current Minecraft: Boulder Edition beta programme, and is coming first to iOS and Windows.

Source: https://www.windowscentral.com/getting-started-terramaster-nas
Posted by: oliveirahileboseek.blogspot.com
0 Response to "Getting started with a TerraMaster NAS"
Post a Comment